It’s been over 18 months since we received our Blackmagic Pocket Cinema Camera (BMPCC). A lot has changed since then. The Panasonic GH4 and Sony A7 cameras have been released and once again changed the market. We used the little monster on a lot of different shoots including a couple of cinema commercials that have been shown on the big screen as well as documentary work for the web.
We finally made a second and probably final part of our BMPCC review that you can watch below!
If you haven’t read or watched the first part of our review CLICK HERE!
The camera has been improved by new firmware from Blackmagic Design. The camera now has the most important features which were missing when it was released in 2013. It’s great that the company didn’t forget about its older cameras and regularly updates the firmware.
Below you can see the features that have been added over time:
Raw CinemaDNG recording (1080p)
Multiple ProRes bitrates (1080p)
Recording time left on SD card
Card can be formatted (exFAT, HFS+)
Histogram
Audio levels are visible and can be changed while recording
Aspect ratio layovers
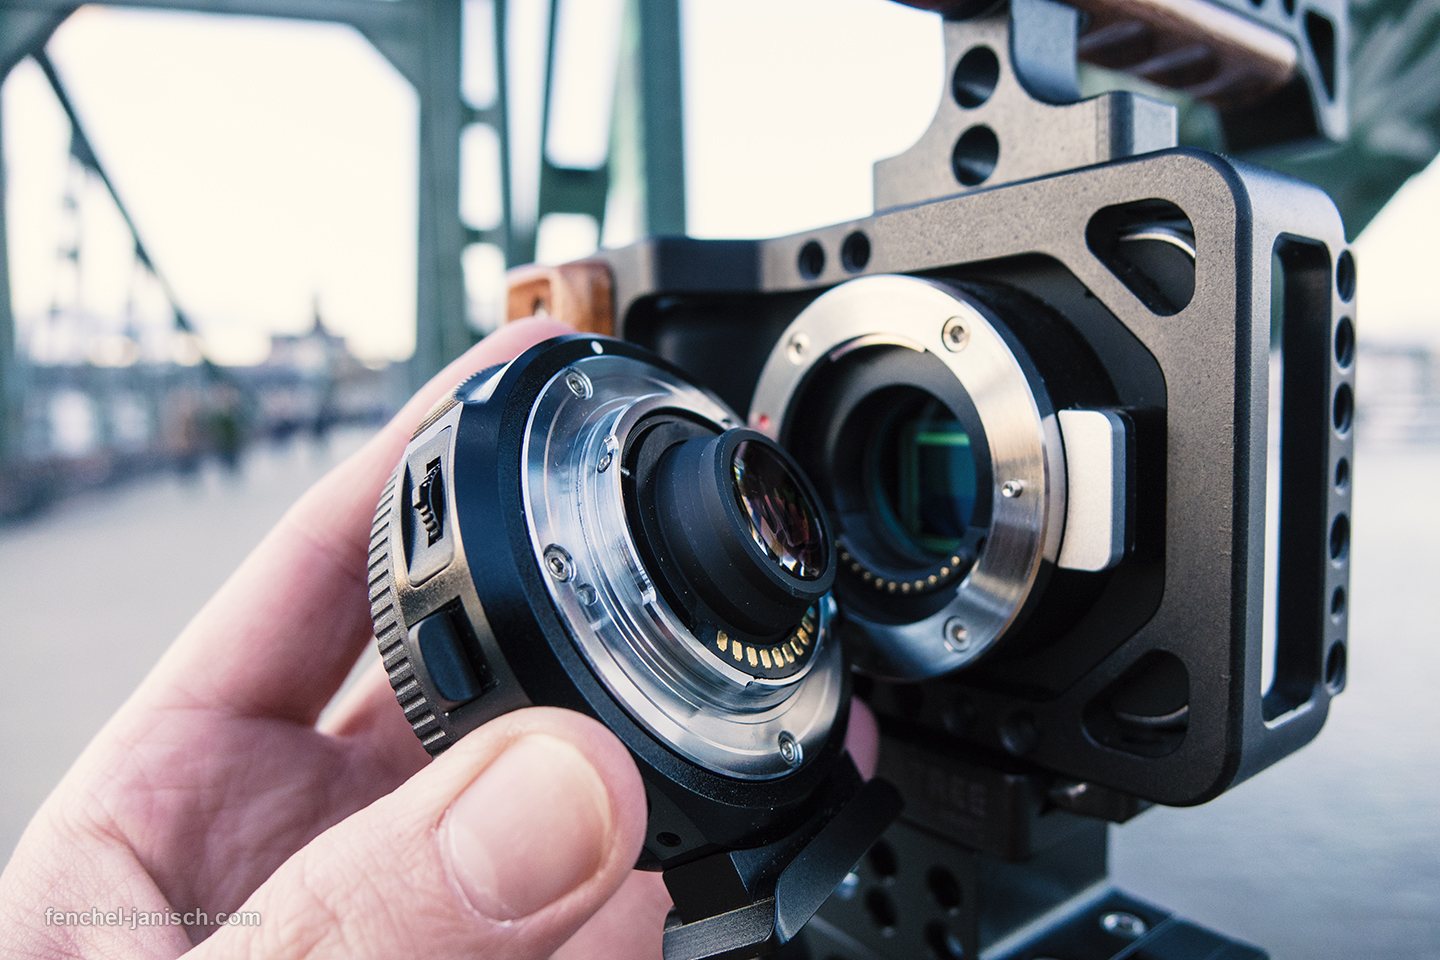
One of our favorite accessories for the BMPCC is the dedicated Metabones Speed Booster. It reduces the crop on electronic Canon EF lenses from around 3x to 1.75x which is great for wide angle shots. It’s called Speed Booster because it increases the aperture by 1 2/3 stops. That means instead of F/4 you can get F/2.4 or you can shoot at F/1.1 with a lens that has a regular aperture of F/1.8. The max. aperture is F/0.74 which is pretty cool when needing more light or a shallow depth of field. It still doesn’t look like a full frame bokeh but it’s definitely getting closer to the much wanted “film look”.
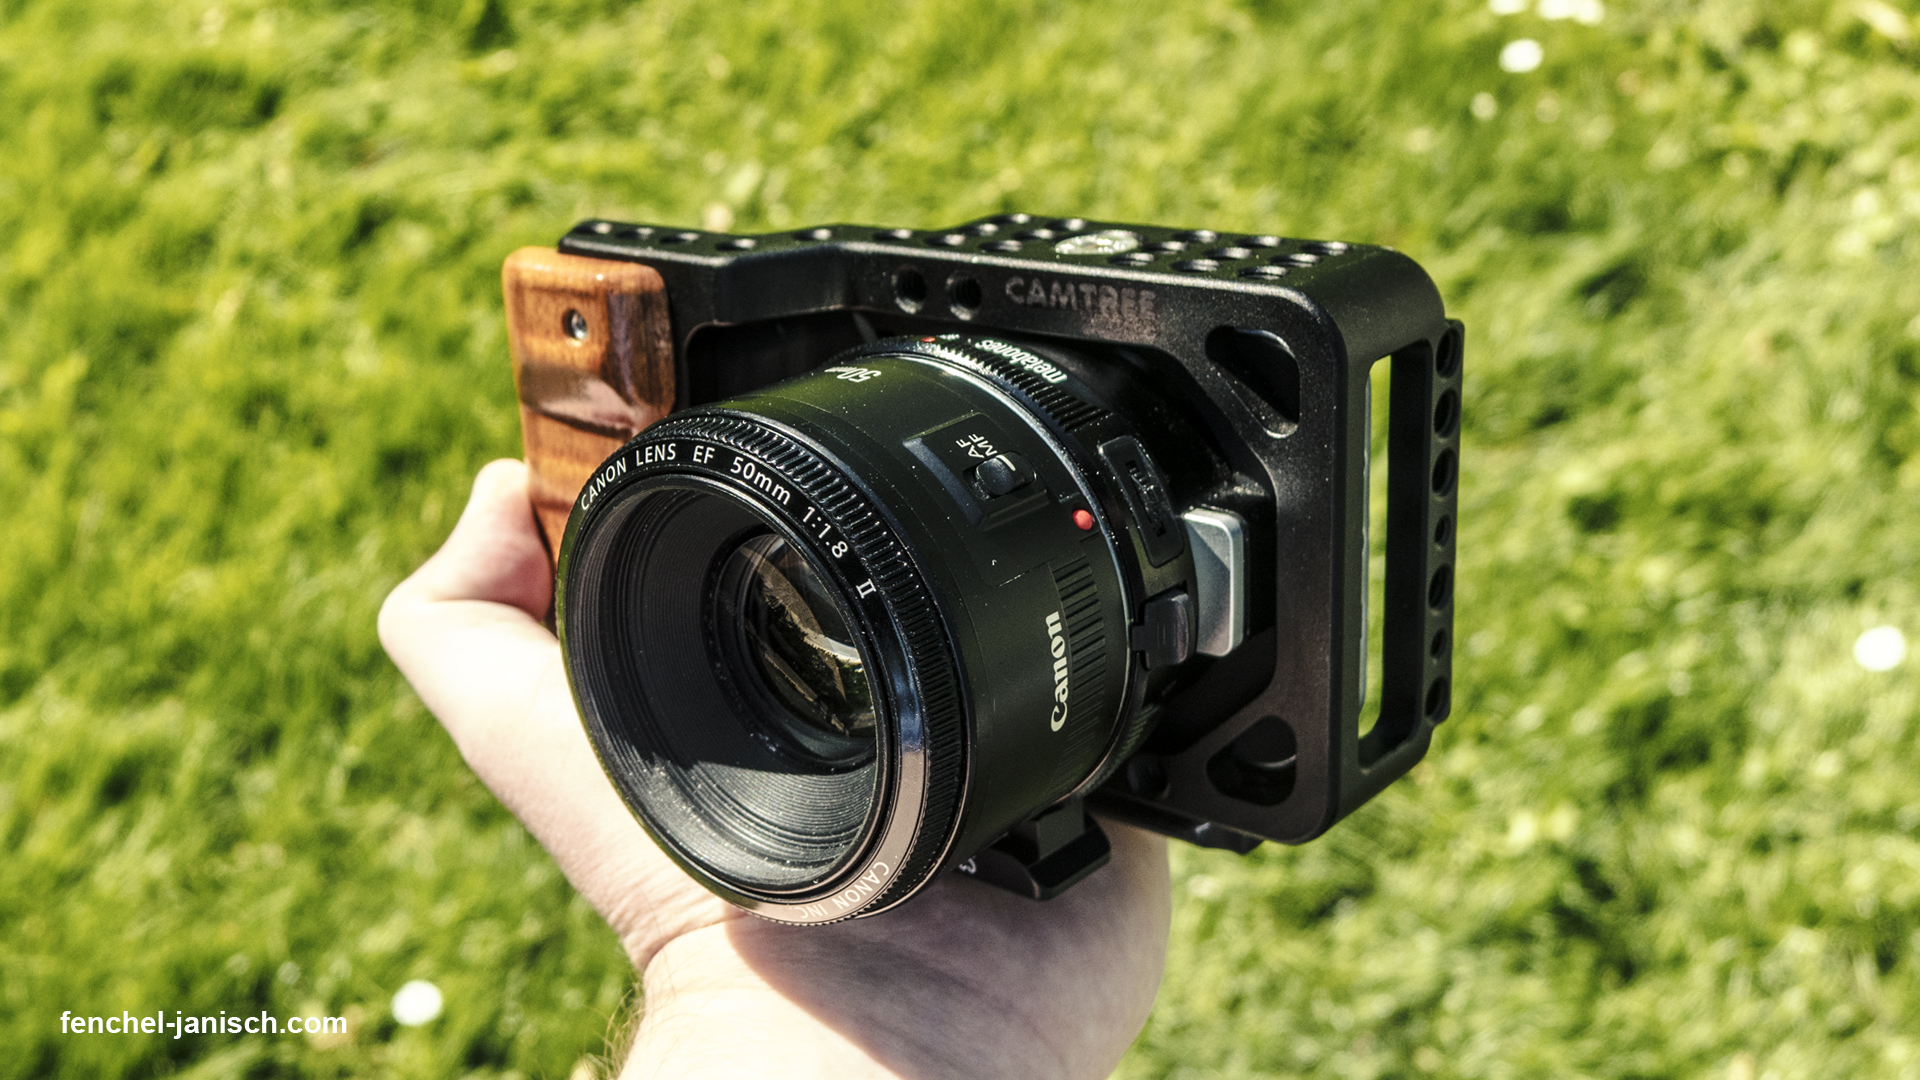
There are different versions available for MFT mount. The dedicated EF-BMPCC adapter costs around $659.00. Below is a photo of the adapter in front of the camera with the Camtree Hunt cage.
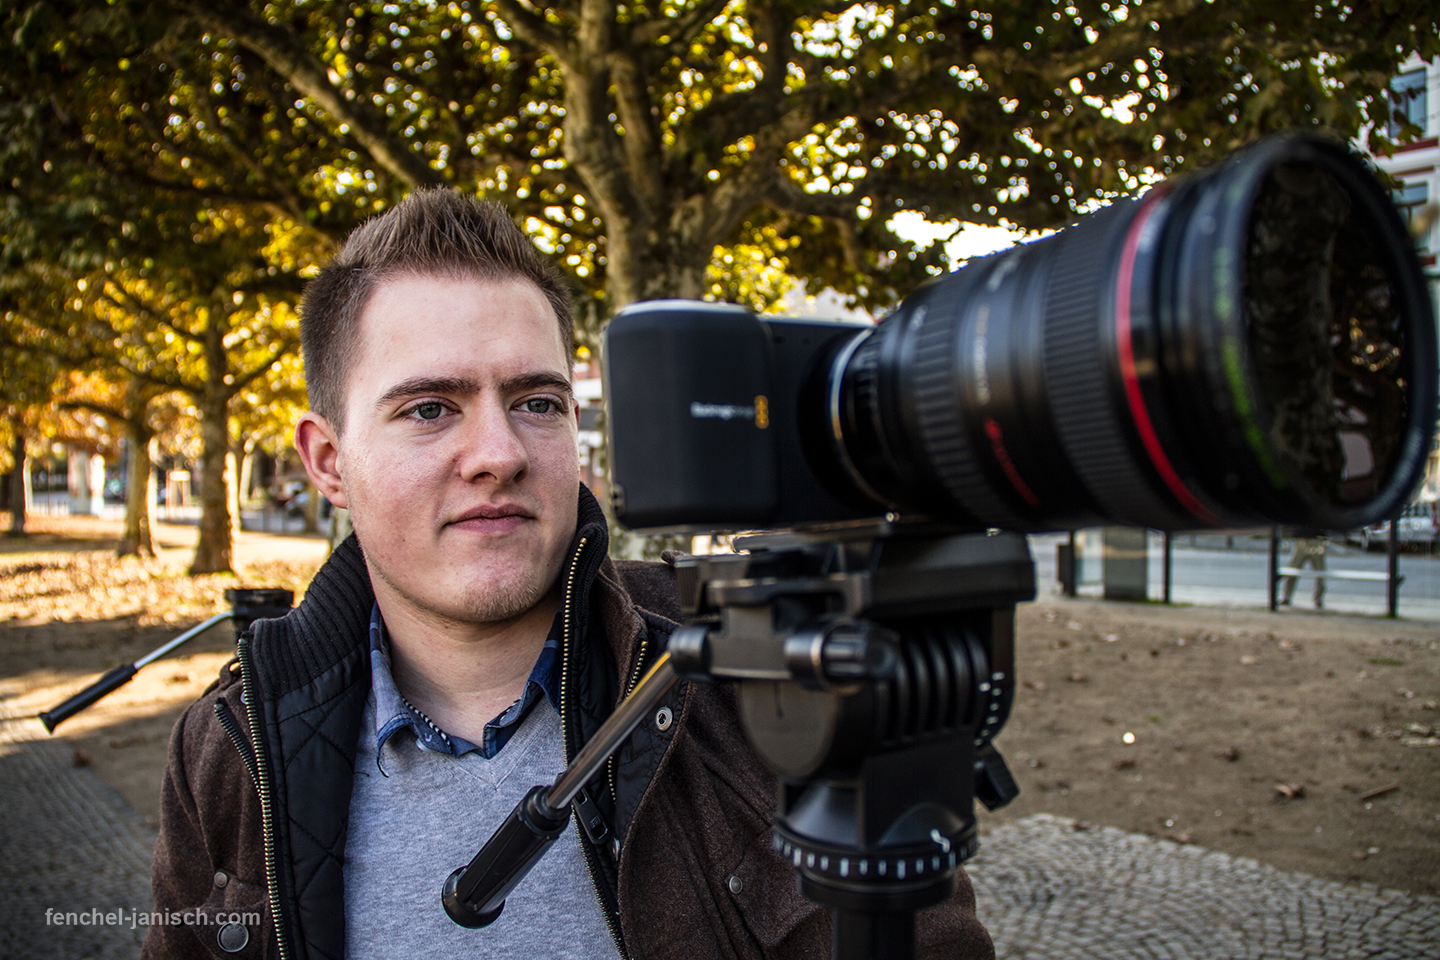
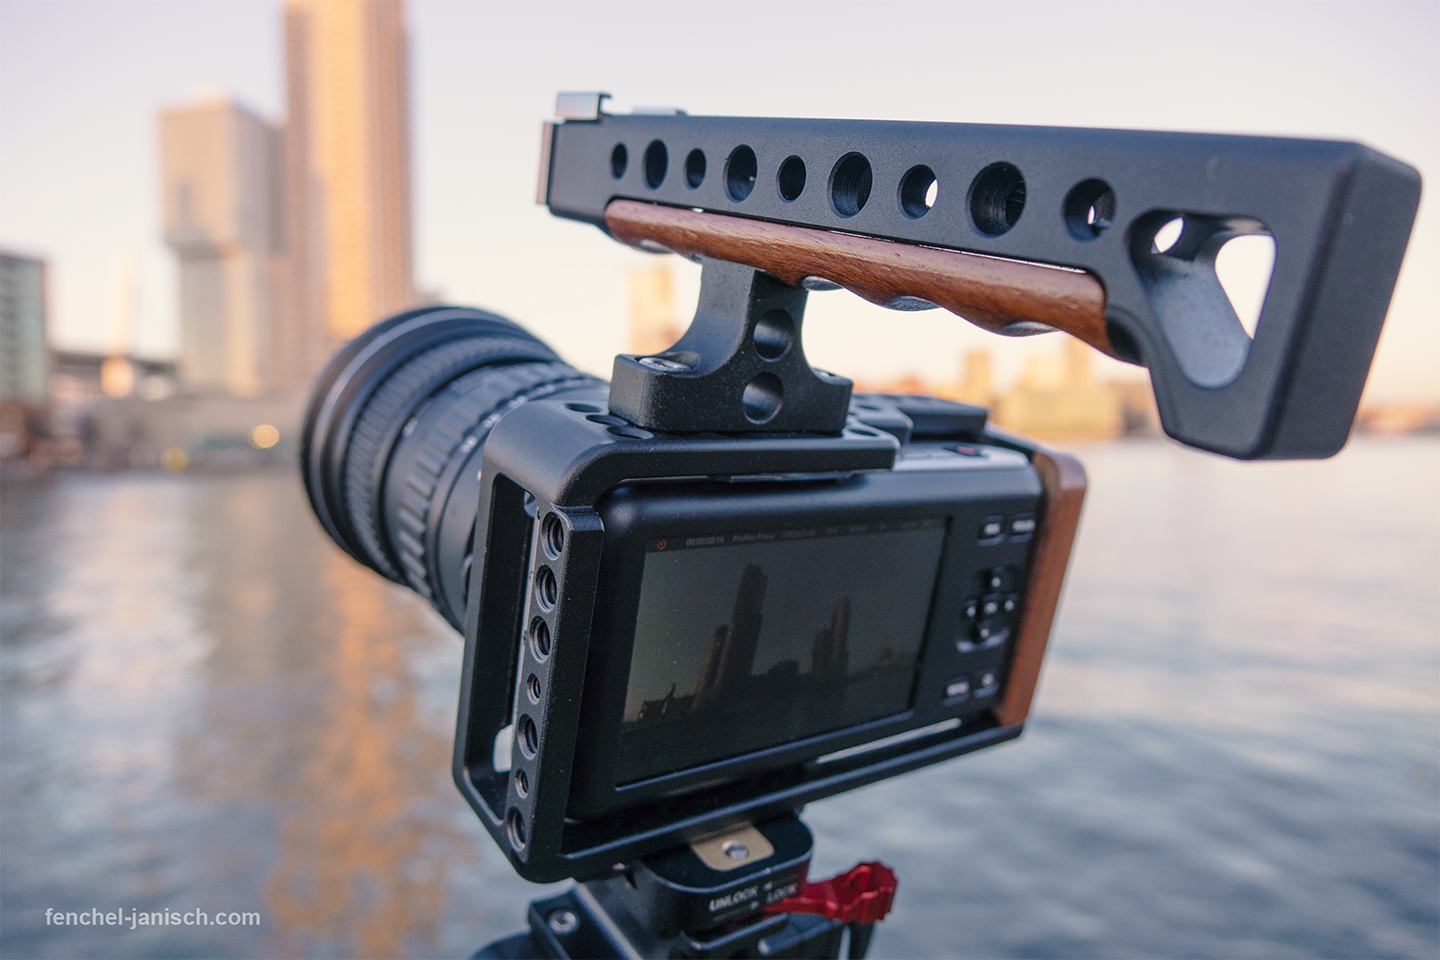
One of the reasons the Pocket Camera is so popular is the size. There are a lot of rigs and cages available that turn this little tool into a big movie monster. We got the Camtree Hunt cage kit that we also reviewed a while ago. The most important part is the cage itself which protects the body and offers a lot of possibilities to mount gear and accessories like a monitor, a microphone or a handle.
The picture above shows the BMPCC with the Camtree Hunt cage, the Speed Booster and Tokina 11-16mm F/2.8 lens. This was in Rotterdam (the Netherlands) in January 2015.
The battery life is far from ideal for most shoots. The batteries last around 25-40 minutes which is too short most of the time. We recommend using external power for example V-mount batteries or dedicated batteries like the Varavon BMPCC Battery Package.
To avoid bad audio quality it’s either a good idea to record completely separate with an audio recorder or to use external preamps for example from juicedLink. Our Camtree kit included a dedicated preamp which reduces the hiss sound of the internal preamps so it’s possible to use the internal audio but in most cases we record onto audio recorders. That’s also the reason why you never see any mics on our pictures that are mounted on top of the BMPCC.
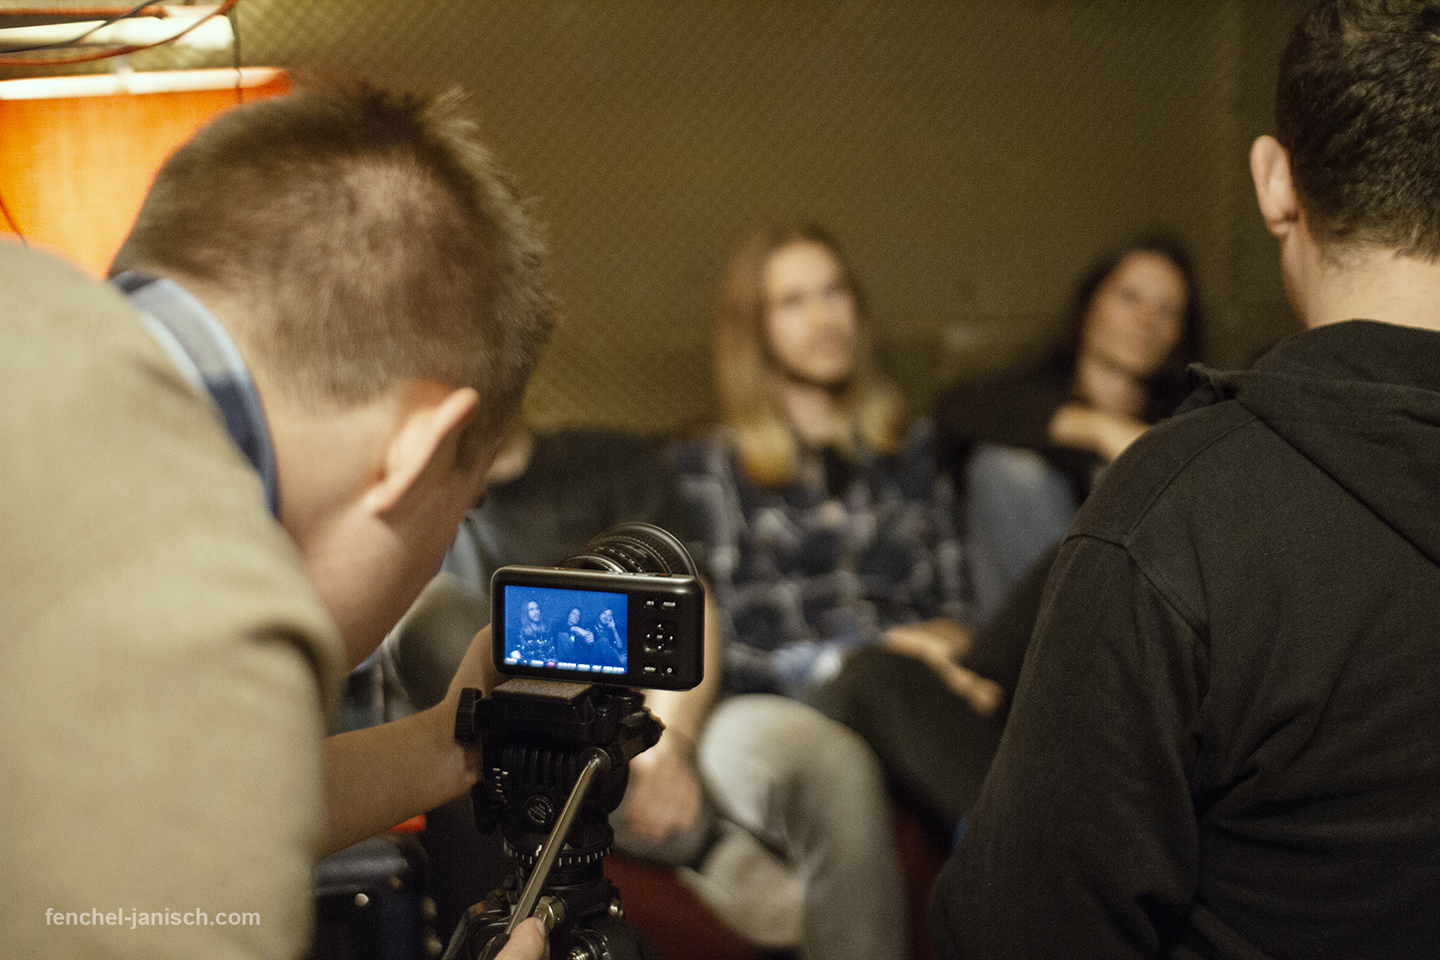
The picture above was taken in late 2013 while shooting an interview for our documentary BAD MUSIC that was mostly shot using the Pocket Camera. At that point of time we only had a cheap Canon EF adapter.
We filmed a lot of projects with the Pocket Camera but do we use the raw recording option all the time? The answer is no. The CinemaDNG files are easy to handle in post but they are pretty big compared to ProRes files. Only 19 minute of footage fit onto a 64GB SD card. When filming in ProRes LT you can record up to 90 minutes with a bitrate of 102 Mbps. Color correcting and grading the CinemaDNG files also takes more time in post production due to a more complex workflow. Raw is great for cinema and TV projects that need a heavy grade or for CGI. We usually shoot long interviews in ProRes LT and pick up shots or b-roll at a higher bitrate or CinemaDNG to save hard drive space. We recommend using DaVinci Resolve or SpeedGrade to color correct and grade BMPCC footage.
Blackmagic Design has improved the camera a lot since it was released in 2013. It can now shoot raw CinemaDNG files and offers different bitrates when recording ProRes compared to only being able to shoot ProRes at first. A useful update is also the aspect ratio feature. The camera still doesn’t offer a higher frame rate than 30p which makes it unusable for slow motion shots. The audio levels are visible during recording and can also be adjusted.
One of the bigger downsides is the general control. To change settings you need to go into the menu first. There are no real short cuts or quick menu options. You can change most settings while recording but you only see a full screen menu and can’t see what you are filming anymore. The aperture can be changed during filming without the need to open the menu as well as the auto iris option and focus peaking. The remaining recording time can be seen at the bottom of the screen.
The Pocket Camera is ideal for all filmmakers that need a real filmic look and an image with a high dynamic range at a high bitrate. The Pocket Camera is called “Cinema Camera” for a reason. For everybody who needs to be fast and flexible and is doing documentary work we recommend taking a look at the Panasonic GH4, Sony A7s, Sony RX10 or the Canon C100.
Written by Moritz Janisch