Color grading has become a normal part of many filmmakers’ workflow in the last few years. Getting the image right in-camera is important but if something doesn’t turn out exactly as you wanted it – you can fix it in post. Most people know that process from photography when shooting raw. Things like white balance or the exact exposure don’t matter that much because the fine tuning can be done in Photoshop, Lightroom etc..
Relying on a tool that can fix stuff in post isn’t a good idea but with cameras that capture a high dynamic range with a really flat looking image you have the opportunity to decide how the shot is supposed to look like while sitting in front of your computer.
Color correcting a flat image can be challenging for beginners or editors who aren’t focused on grading. Since I love to grade our footage and I am not a big fan of using some presets that have to be adjusted anyway I always have been skeptical with grading plug-ins. Most presets are too extreme in the way they are designed and remind me of the beginnings of digital grading: Oversaturated with gradient on the skies. I am glad those times seem to be over. Check out our new video below that takes a look at two kinds of grading tools.
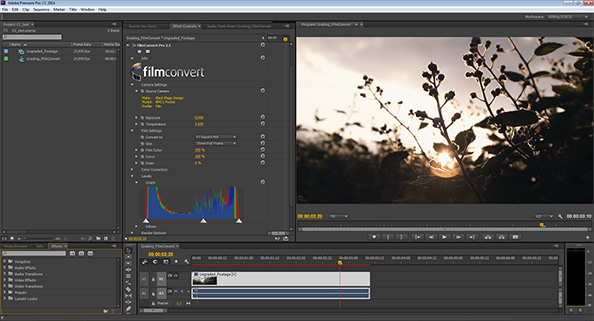
While the plug-in FilmConvert Pro 2.1 doesn’t come in cheap for at least 199$ (for editing software) it surely has a great interface. You can use it as a standalone version or in your editing software. We are using it in After Effects and Premiere Pro. You can easily select the camera profiles and picture styles which is pretty useful and saves a lot of time because you don’t need to search for the right preset that suits the look of your captured image. Another great feature is the three-way-color-corrector as well as the option to apply all sorts of grain (not recommended for the web due to high video compression on YouTube or Vimeo).
When it comes to the VisionColor LUTs such as OSIRIS or ImpulZ they have a more extreme and unique filmic look which FilmConvert kind of lacks. Most of the FilmConvert presets are kind of brownish and not really saturated. But yes, you can of course change all that but in the end those tools are designed for a fast grade otherwise you can do the grading with your previous tools which takes more time.
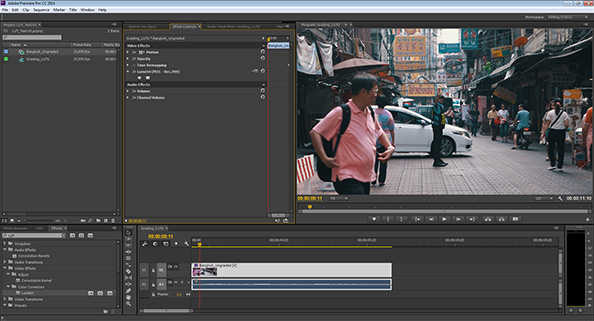
Working with LUTs certainly has its limits if you’re not a professional colorist. Premiere Pro CC has the ability to apply the lookups with the Lumetri plug-in which wasn’t included in previous versions (CS6 and below). Red Giant’s LUT Buddy has the ability to do the same in case you are using CS6 or CS5.5. The downside is that it’s only available with a larger grading suite that costs around 600$.
In the end color correction is a very specific and also scientific procedure that needs certain knowledge but I thought it would be a good idea to share a more simple way in getting the wanted look instead of being frustrated with pro software like Speedgrade or DaVinci Resolve.
If you don’t want to spend on a third-party-plugin I recommend checking out our 50 free grading presets for After Effects CS5.5 and up. We released them two years ago and they are designed for typical DSLR footage (Canon 7D, 5D, Nikon D7000, D600 etc.).
Written by Moritz Janisch


