There are different techniques on how to get really smooth timelapses. You can watch our video tutorial below to learn different ways that we use for our fast motion projects.
Step-by-step to the best results
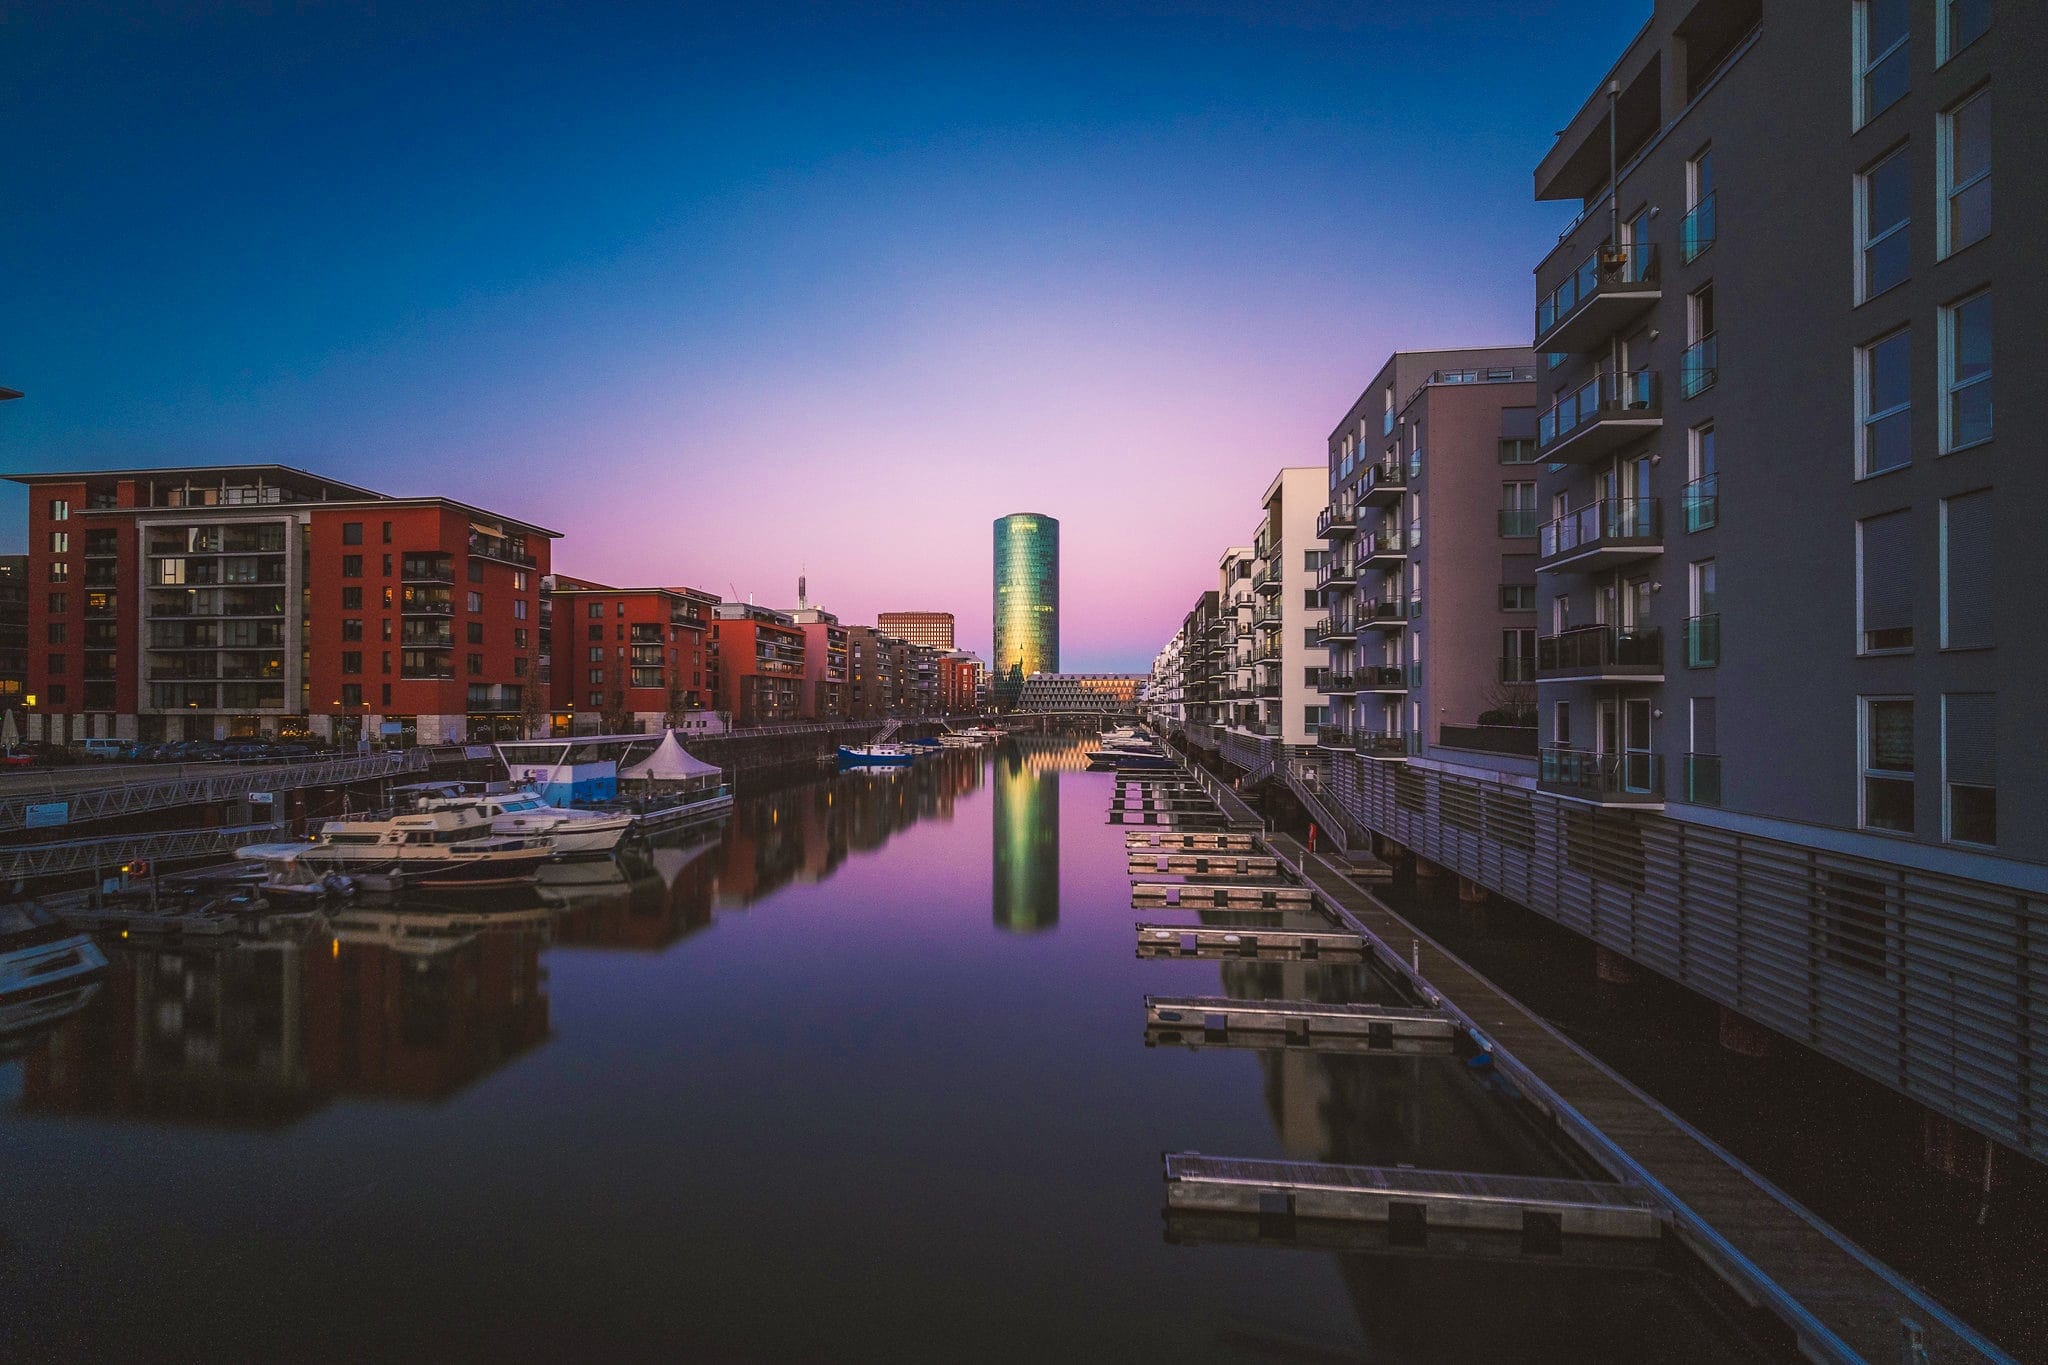
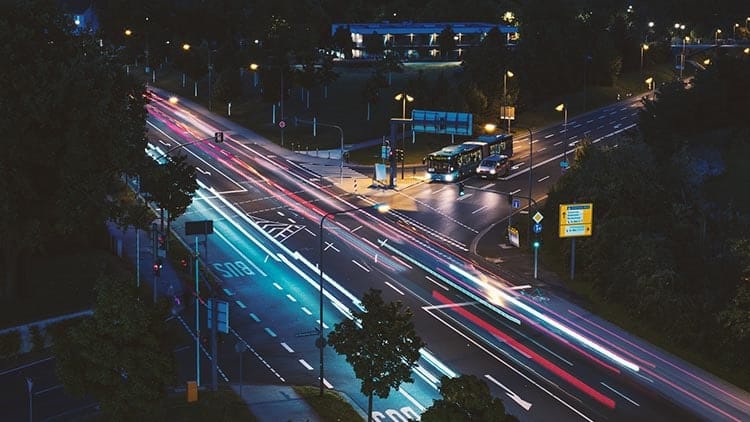
Usually timelapses look like this: Clouds, people or cars move fast through the frame. But especially when shooting a photo timelapse with a long pause in between pictures, a few seconds or maybe even minutes pass, things that were in one frame are not there anymore in the next frame which can lead to an unwanted effect: The footage simply looks like something is missing and doesn’t seem smooth.
To avoid this “choppy” effect there are two techniques that work well. First: Expose long and shoot at a short interval. Second: Expose short, capture the photos with a short interval and smoothen it in post.
To avoid this “choppy” effect there are two techniques that work well. First: Expose long and shoot at a short interval. Second: Expose short, capture the photos with a short interval and smoothen it in post.
1st technique: Shoot it smooth
While it’s common to expose night timelapses longer than day timelapses simply because there isn’t enough light it’s not so common to do the opposite which has two reasons.
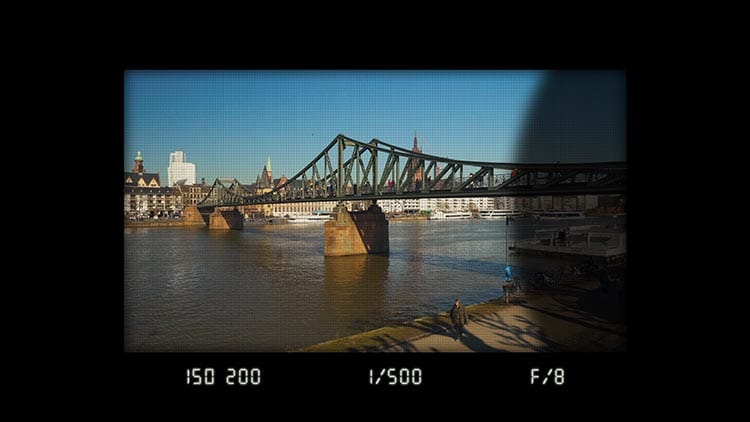
To expose long in daylight you need to close the aperture to let less light in the camera but even when shooting at F/22 you will still not be able to expose for very long which means you need to use a neutral density filter to darken the image. While for video it’s common to use variable ND filters to quickly adjust exposure without needing to change ISO, shutter or aperture, for long exposure photography it makes sense to use a fixed filter to avoid an unwanted X pattern. I recommend using a filter with ND 1000 also known as ND 3.0 to let as little light through as possible. That way you can easily expose for at least 2.5 seconds on a very sunny day but often even for more than 10 seconds.
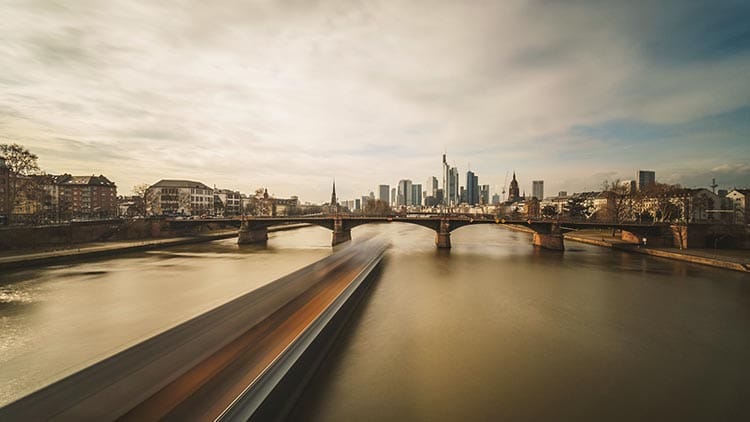
When now shooting a photo timelapse you will see a ghosting effect meaning everything that moves fast will have a high amount of motion blur just like with light trails and car lights in night timelapses.
This doesn’t only look cool, but it also gives the viewer or better understanding on where the fast motion in the pictures is leading, making it more relaxing and pleasant to watch. To get the best out of this technique it is important to keep the interval as short as possible otherwise there’s a gap in between frames which means frame one and two are visually not well connected.
The main downside of shooting long exposure photography is that you need to keep your tripod and camera perfectly steady, because little shakes and bumps can lead to an overall blurry image. This usually isn’t a big problem when using a wide-angle lens but can be an issue with everything above 50mm. The longer you expose the higher the chances are that there is some unwanted blur visible in the images.
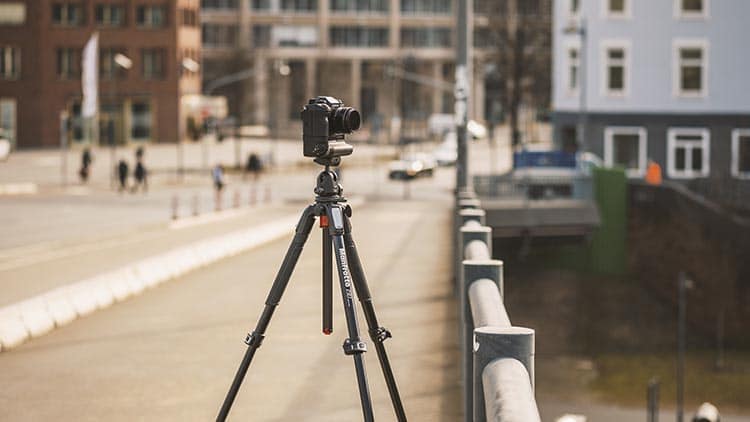
If it is very windy or the ground on which the tripod is standing is vibrating or moving, which for example can happen when standing on a bridge, this is not the best technique to get smooth timelapse shots. When it comes to editing this kind of timelapse it’s especially important to use a deflickering plugin because the light and exposure is going to be a little different in each frame.
2nd technique: Fix it in post
If you prefer to smoothen your timelapses in post there is an easy way to do it. You can choose whatever shutter speed you like to shoot the timelapses at and no ND filter is needed because the blur effect will be added later on.
The key to this technique is to take as many frames as possible to be able to emulate motion blur. If you’re shooting city timelapes with people visible in the shots it makes sense to shoot an interval between one and three seconds depending on how close you are to the scene.
There are different ways to add motion blur but I recommend using the Timewarp effect in Adobe After Effects. This effect allows you to easy control speed and motion blur. The advantage of applying this effect while editing instead of actually shooting long exposure photos is that you can control how blurry the motion within the frame should be and change it any time if it doesn’t give you the wanted result. Depending on how fast the motion should be you can double or triple the speed of your sequence and then enable motion blur and set it to manual. The blur is displayed as shutter angle just like on a cinema camera instead of shutter speed. But it’s not complicated to adjust the blur.
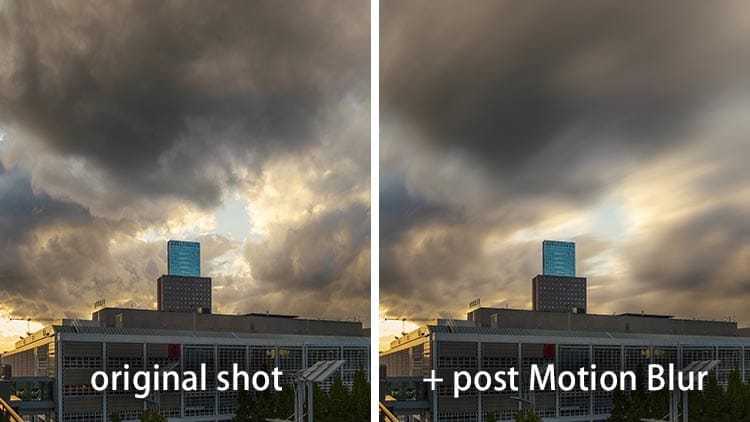
The higher the number the more motion blur will be visible. It’s pretty much the opposite of shutter speed when it comes to numbers. 1/50 of a second is 180 degrees. Feel free to play around with the amount of blur simply by dragging the slider to the right to increase the blur. You can further adjust other settings to get more pleasing results but usually this simple setting already does a good job. There can definitely be some issues when different motions are overlapping so it’s not an effect that always gives me the wanted results but definitely a good alternative to shooting long exposure timelapses. If you don’t want to change the speed you can also use Pixel Motion Blur which essentially does the same thing and is very easy to use. The shutter angle can be adjusted manually to get the wanted amount of motion blur.
I sometimes also add motion blur in post simply because it’s too windy outside to expose long in the field and the lenses on the camera are moving or shaking which is especially an issue with big tele-photo lenses and like mentioned earlier, lead to a blurry image. Stabilization effects like Warp Stabilizer can help to get rid of the lenses unwanted motion before applying the motion blur effect.In this comparison you can see both techniques work well but the long exposure timelapse clearly looks more realistic.
The second technique is definitely easier and gives you more options while editing but needs a lot of computing power so I if you want to spend less time infront of your computer and more time outside give the first technique a try.
Written by filmmaker Moritz Janisch on May 7, 2019