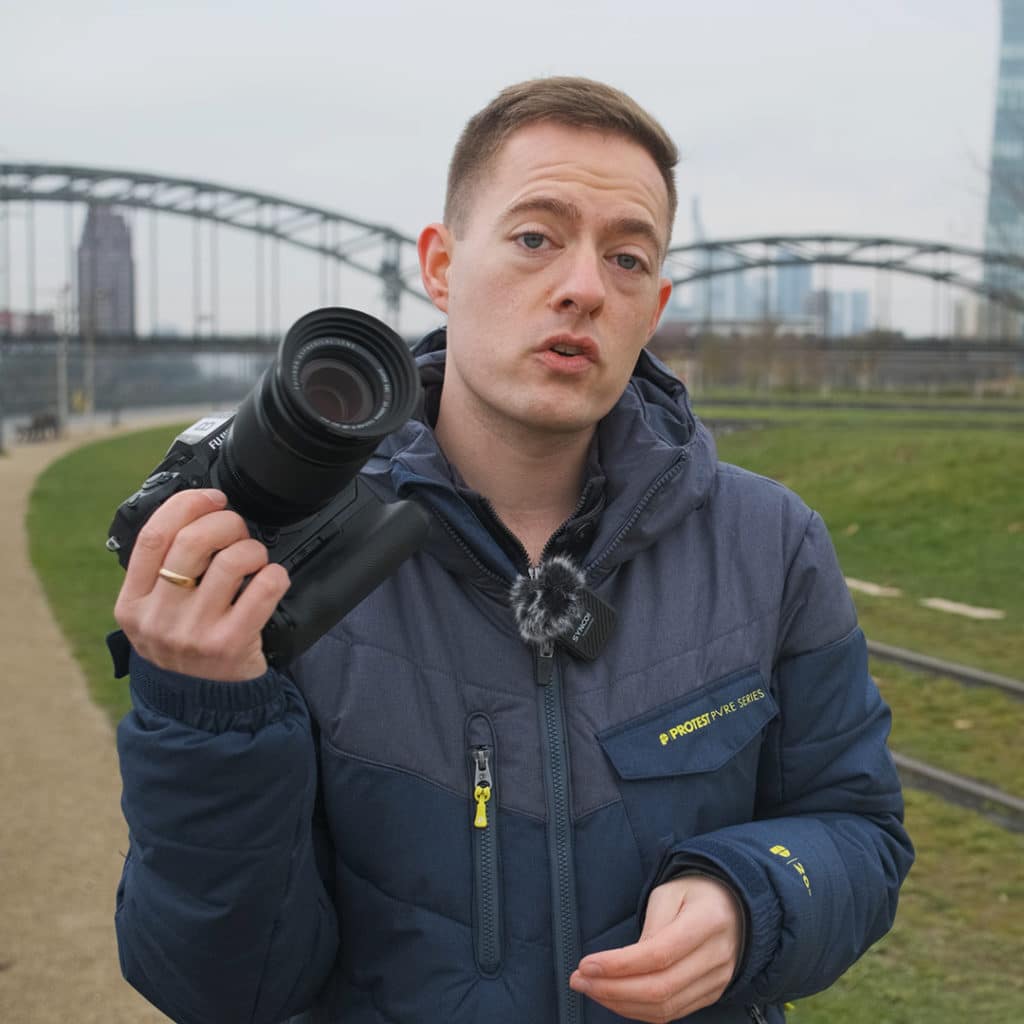
In this tutorial I will you how to get to the next level in timelapse photography. Learn how to shoot hand-held hyperlapses with a tele-photo zoom lens (70-300mm). No slider, motorized gear or tripod necessary!
Something you don’t see often are telephoto hyperlapses: It’s actually easier to shoot than you might think.
What is a hyperlapse? The camera moves constantly just like a slider but further distances.
Tele-photo hyperlapses can take this technique to the next level since they are not so common. These shots can look like aerial timelapses.
Camera’s framing grid can help keep the subject in the same position.
Gauge level is important to avoid too many changes between shots.
Look for markings on the ground to keep on the same path/route
It’s easier if the camera or/and lens have image stabilization to frame precisely without shakes.
Double the focal length to have a steady shutter speed
I recommend to use a battery grip or a big and heavy camera to be able to get steady shots + you need to be able to hold the camera properly for up to 30 minutes. This can be exhausting.
Wind can also ruin a shot because the lens will shake.
Usually takes between 10 and 20 minutes to shoot without pausing for too long.
There’s a risk that the result won’t be perfect but it can be visually more appealing than a static timelapse.
To be safe repeat the same hyperlapse 2-3 times.
Alternative is to use a tripod with a ball head but this can take a long time because the framing needs to be exact. Also tricky and not always successful.
Hand-held is overall a good technique to get quick results when traveling.
In post the sequence needs to be stabilized which doesn‘t require expert knowledge. Warp Stabilizer will usually work. Try different stabilization types if the video is too wobbly.
Written by filmmaker Moritz Janisch on December 7, 2020
